
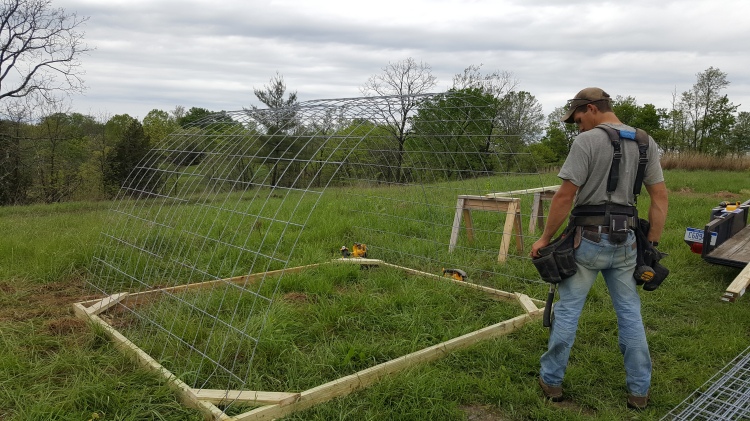
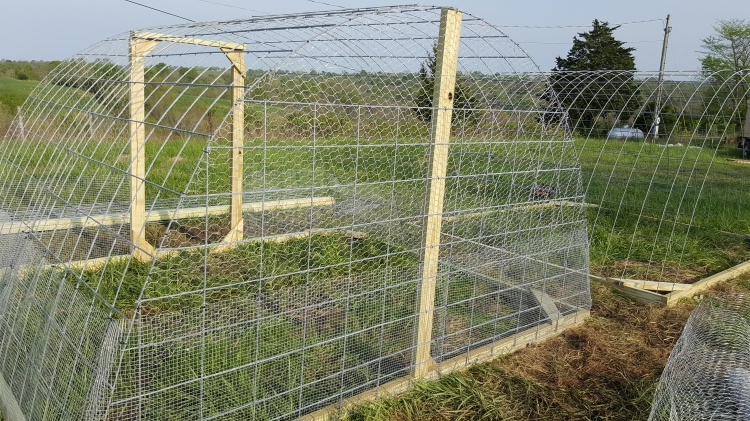
After using a Salatin-style chicken shelter last year and having problems with low ventilation, we decided to use a different model and utilize cattle panels and tarps for the roof.
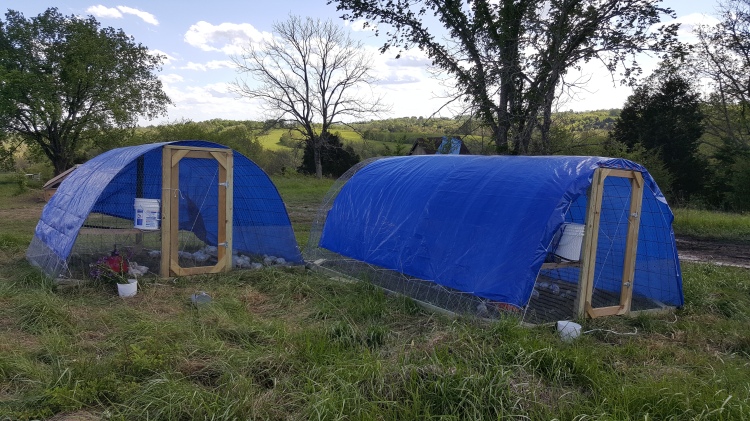
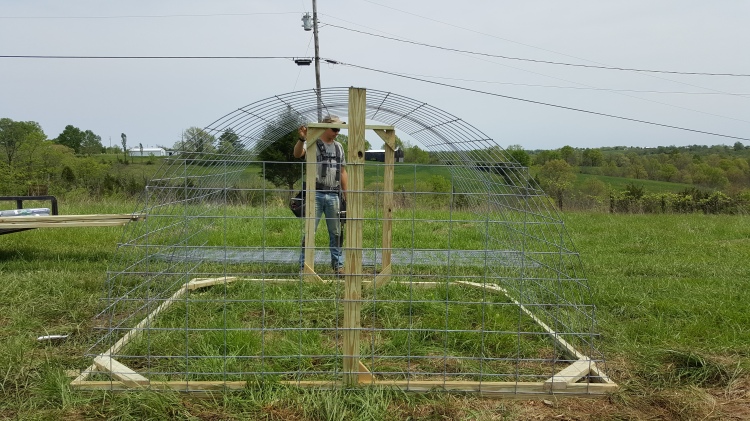
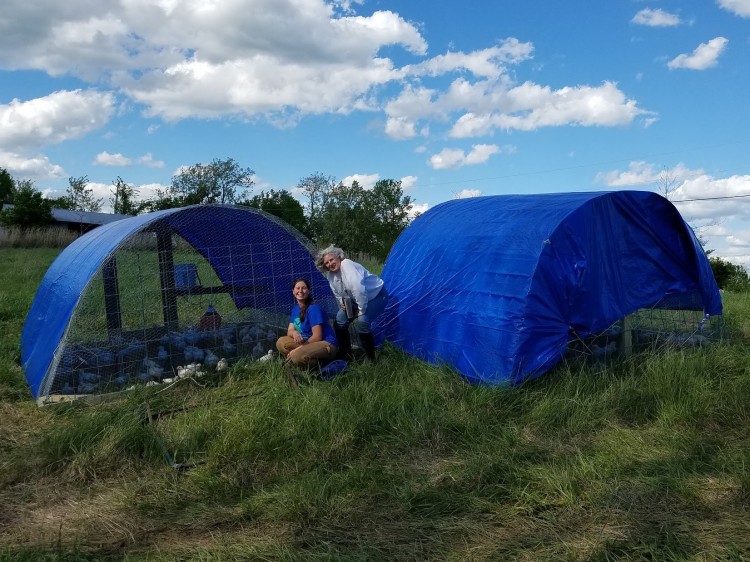
We built three shelters – two 8 ft. x 10 ft. and one 12 ft. x 10 ft, and both about 5 ft. 6 in. at the peak. Here’s how we did it!
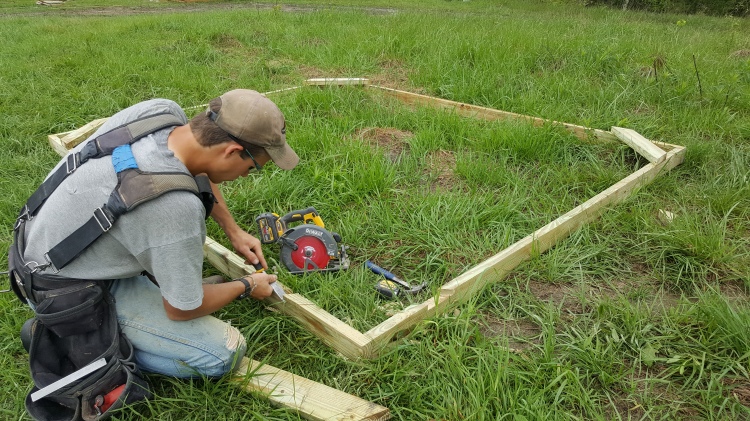
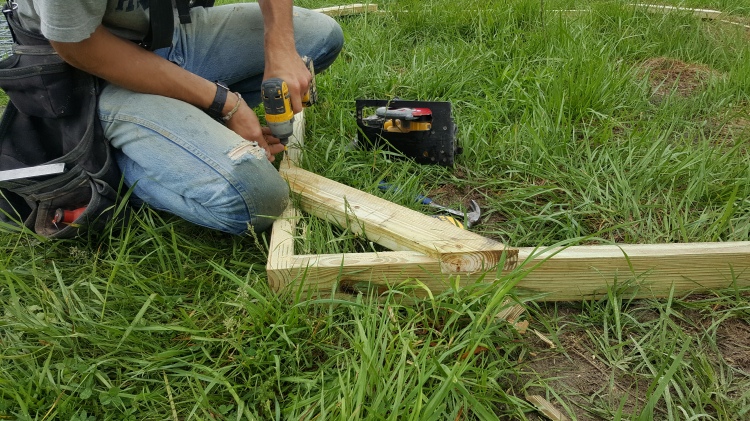
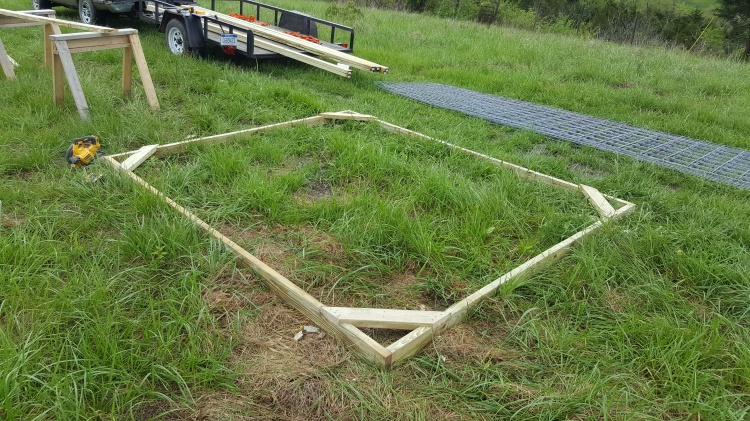
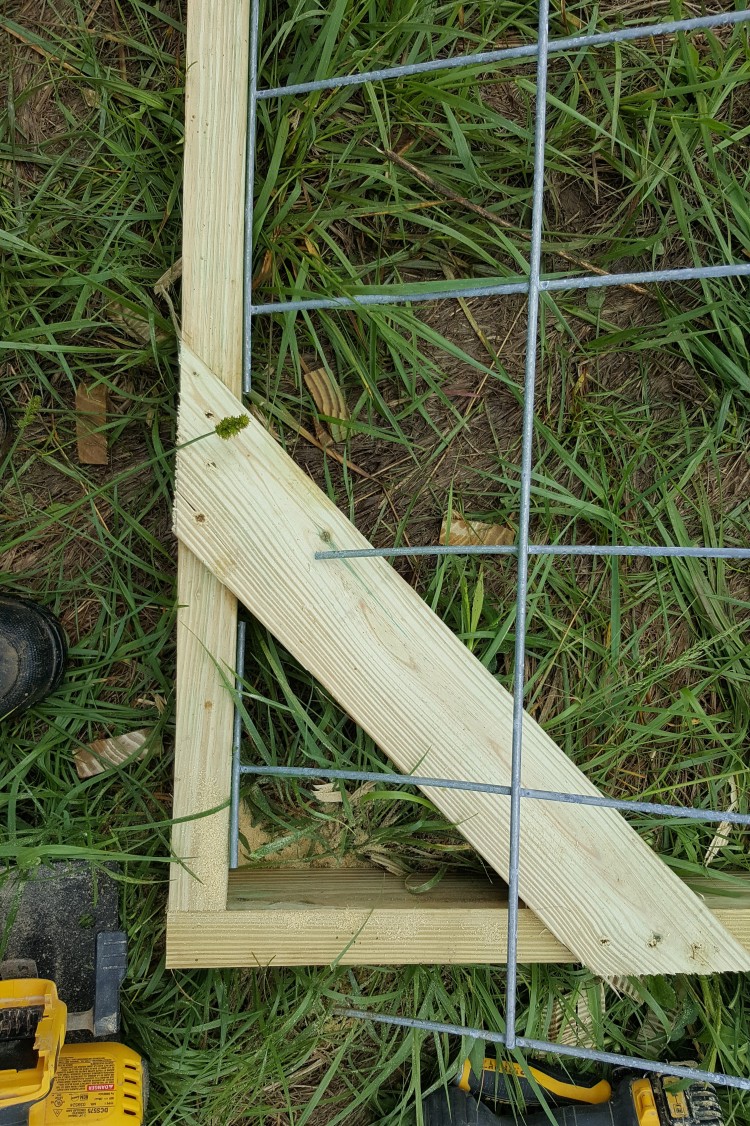
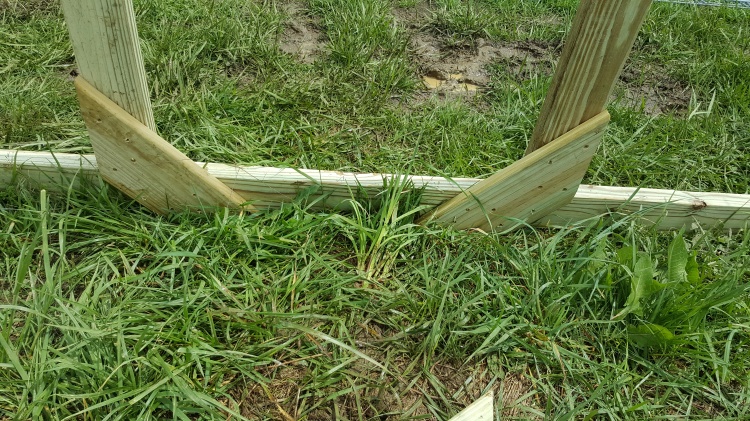
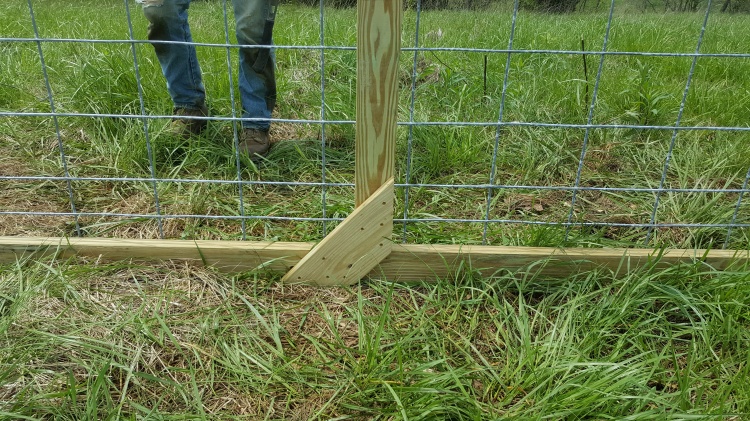
First Judah built the bottom frames. The smaller shelters (pictured here), were 8 ft. x 10 ft. and the larger one was 12 ft. x 10 ft. Judah used cross braces in the corners, notching them to make them very strong.
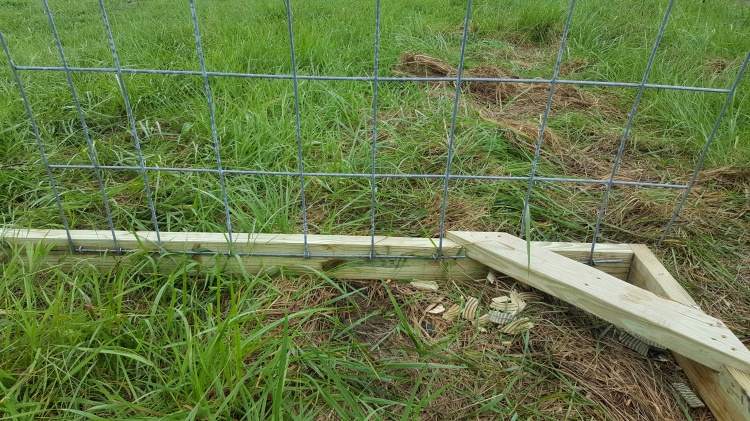
The top and sides of the shelter are formed by two 16 ft. x 50 in. cattle panels (we used three for the larger shelter). Using a Sawzall, Judah cut the cattle panel so it would fit over the frame and brace, like so.
He tacked it in place with a few staples and then bent the panel into a hoop, held together by the frame. We did the same with the second panel and secured them with more staples.
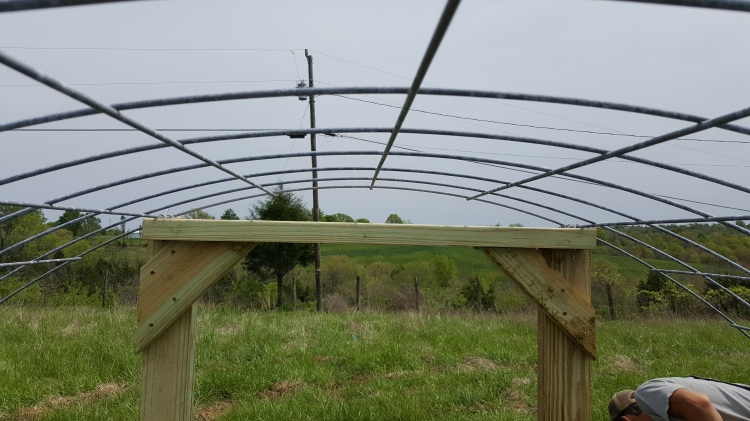
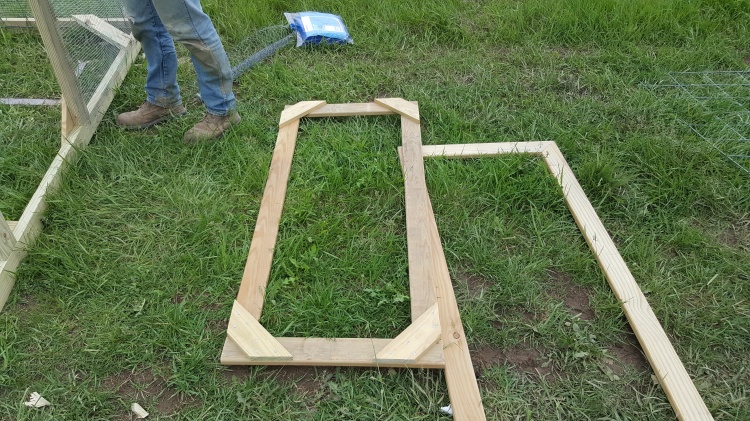
We used wire to attach the two panels together along the middle seam. Then Judah built the door frames. Here is what the top and bottom of the door frames look like.
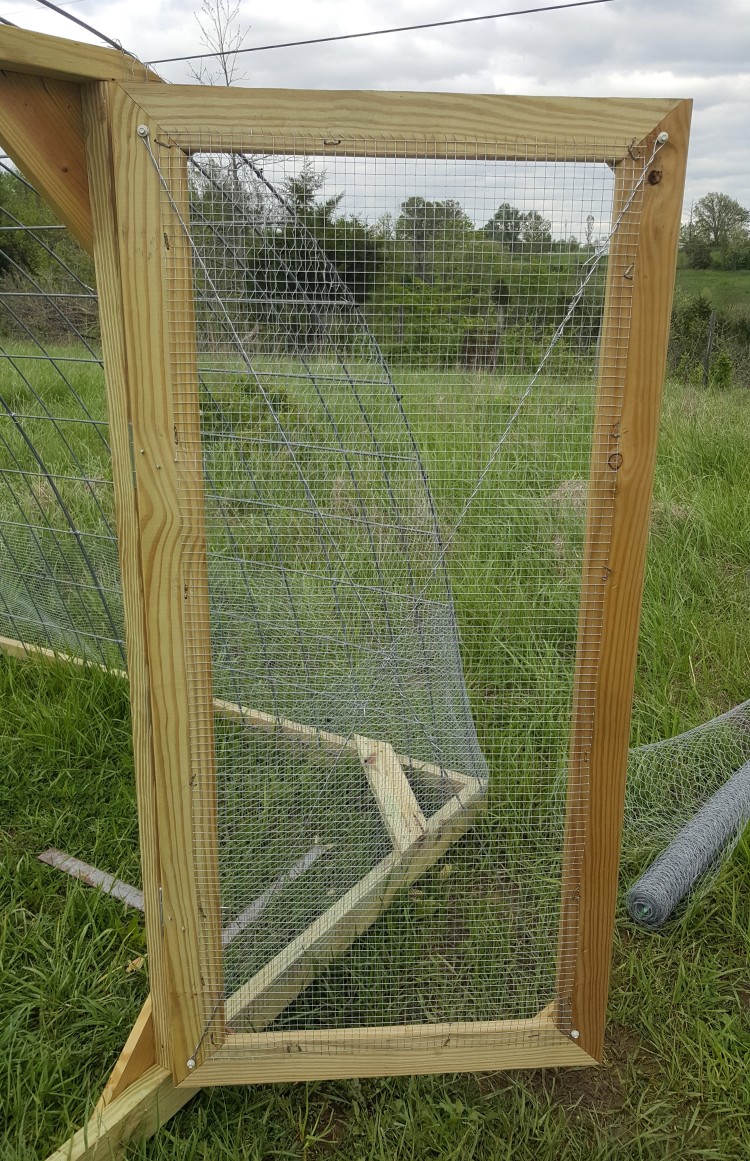
Next came the back of the shelter! We used part of a cattle panel for this, even though it didn’t come all the way to the top. We used wire to keep it in place and then Judah cut the panel to the shape of the shelter. Then Judah made a brace up the middle for extra support.
I attached 1/2 in. hardware cloth all around the outside, going 2 ft. up the sides. I used zip ties, but wire would work too! The hardware cloth stops predators from reaching inside and grabbing chickens, which they can do through regular chicken wire.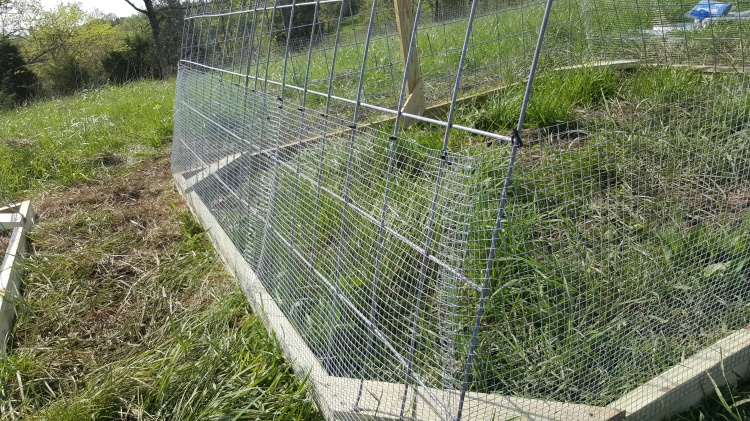
Next I put chicken wire on the remaining parts of the front and back walls using zip ties, overlapping a few inches of the hardware cloth.
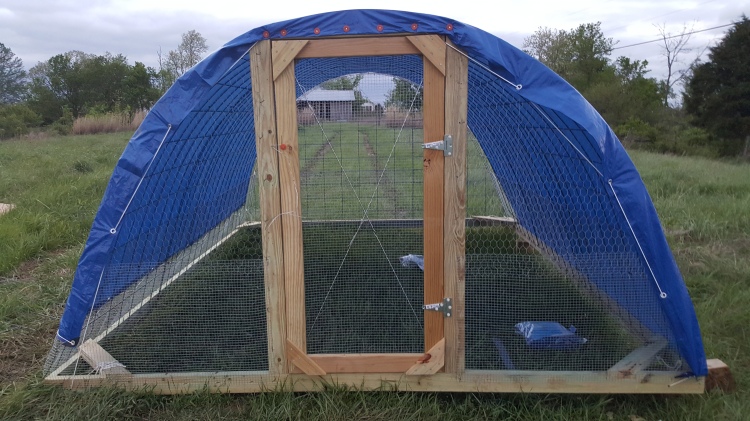
Meanwhile, Judah made doors. The wire running diagonally across the door is to keep it square as time goes on.
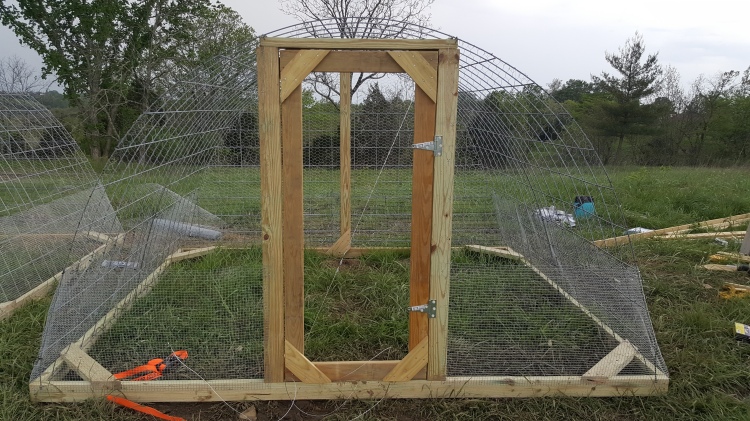

I ended up putting hardware cloth on the entire door (instead of hardware cloth on the bottom and chicken wire on the top) because it was just the right width to run vertically up the doors.
We put a variety of different latches on the doors, experimenting and using what we had, but I didn’t take any pictures of them.
I was hoping to find 8 ft. x 14 ft. tarps, but we ended up using 12 ft. x 16 ft. tarps for both size shelters. As logic would have you think, the larger shelter that has less tarp coverage is favored by the birds in warmer weather because it has more ventilation. The smaller shelters with more tarp coverage are better for cold nights.
We didn’t quite perfect our technique for tying the tarps onto the shelters, but here is what we did. The tarps were too big to provide enough ventilation for the small shelters so we folded one edge under a few times to shorten the tarp. Then, since the grommets on the edge of the tarp were hidden, we used cap nails to attach that side to the frame. And a final note on tarps – these are light-duty tarps but they ended up with holes where wires and zip ties poked through, so next time we’d use medium to heavy-duty tarps.
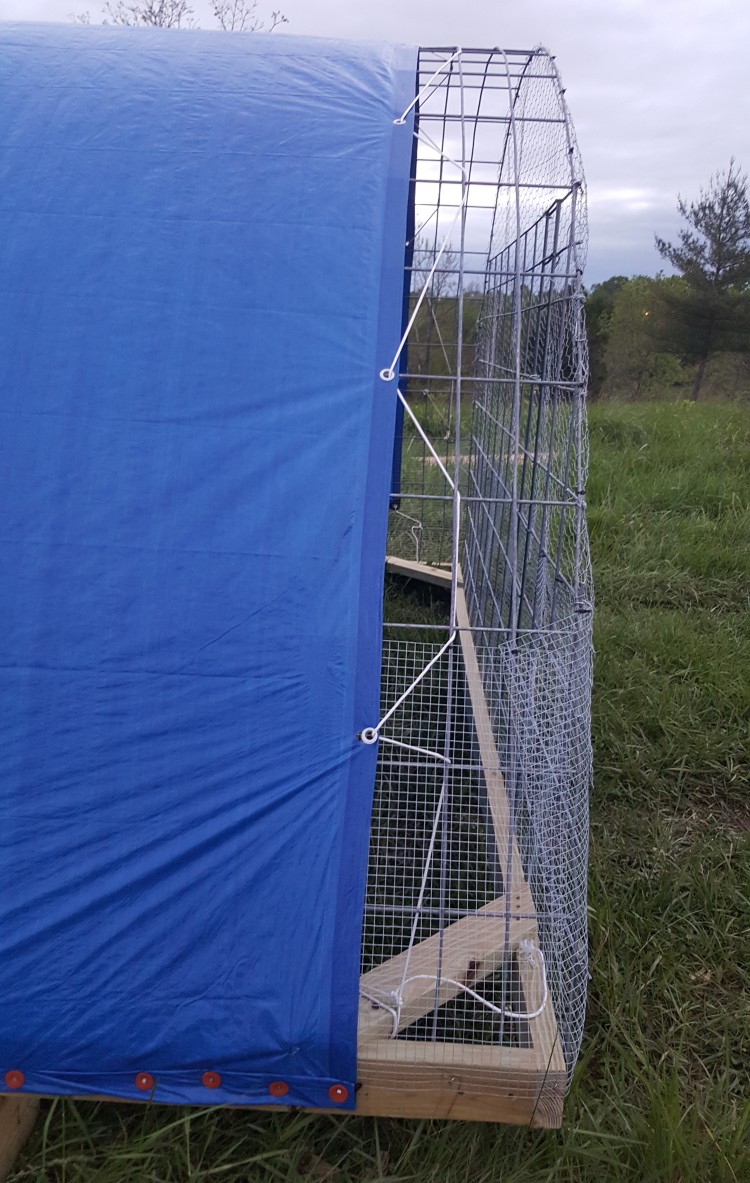
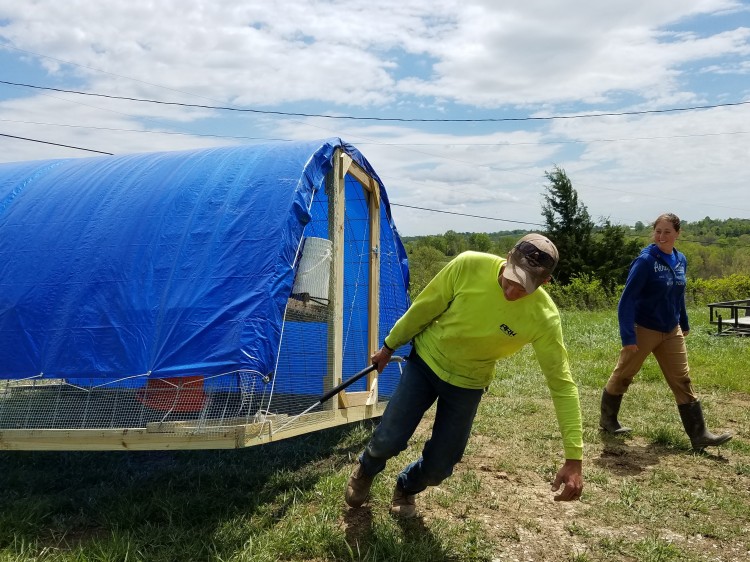
Then we drilled two large holes in the front and two in the back of the frame and tied a rope handle on. This is to lift the shelter in the back when you’re sliding a dolly under it (the dolly provides temporary wheels to make it easier to move) and in the front where you’ll be pulling it forward. It’s good to slide a piece of hose on top of the rope to protect your hands. We used pieces of semi-flexible pipe because we didn’t have an hose on hand.
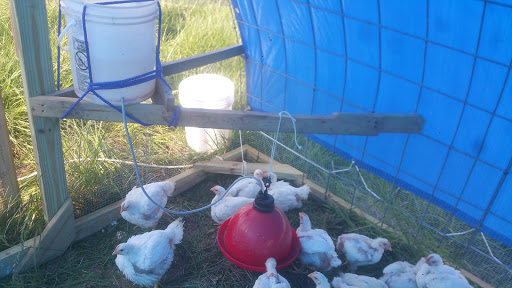
Then we rigged up a watering spot. We have gravity-flow waterers that are fed from a 5-gallon bucket so we had to suspend the bucket above the waterers. This is what Judah rigged up, and it’s working well so far! One nice thing about this setup is that we can refill the 5-gallon bucket in the shelter from outside the shelter by pouring through the chicken wire.
So there you go! That’s how we made our sturdy and relatively inexpensive shelters.

Looks nice!
LikeLike
Thanks!
LikeLike
This is an excellent shelter and easily and well-made! Great documentation for someone who wants to build one. These will last for many seasons, I’m sure. Very impressed! One has to take the time with the details to end up with something that is secure and durable … those lucky chickens!
LikeLike
Thank you!! Judah did a great job heading up the project. And the chickens do seem happy with them!
LikeLike